
Dashboard Authentication
This guide provides details about the two methods of AIR Dashboard user authentication.
2-Factor Authentication
Introduction
This guide outlines the steps to setup 2-factor authentication (2FA) on your user profile for the AIR dashboard.
2FA Methods
AIR currently supports two forms of multi-factor authentication.
- Code via email.
- Authenticator app (e.g. Google Authenticator).
It is generally advised to set up both options to allow recovery should one method of authentication become unavailable.
The below section outlines how to set up these options.
Setup Instructions
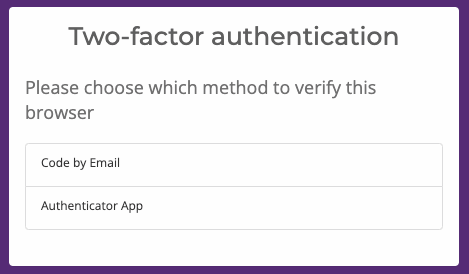
You will be prompted after you have entered your credentials as part of your first login to the AIR dashboard with the screen as shown below.

Press the configure button for the option you are setting up, please follow the instructions below for the different authentication methods.
Code by Email
On selecting this option, an email is triggered to your email address configured against your user account and you are presented with a screen to enter the code as below.

Enter the code that you have received by email. On confirmation, you are taken back to the 2FA configuration screen where you can see this method has been enabled.

Authenticator App
On selecting this option, you are presented with a screen outlining the options available.

Select to show the QR code on the screen. On your phone, open the authenticator app and select to add a new login. This will add the login to your authenticator app. To confirm the setup enter the generated 6-digit code into the screen. On doing this, you are taken back to the 2FA configuration screen with the option enabled.

To complete the setup, click the save button.
Using 2FA To Login
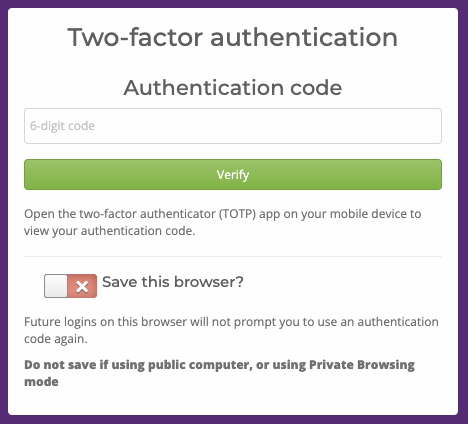
Once enabled, 2FA is required to be completed to login to the dashboard. Select the option to use (if you have more than one enabled).
On selecting the relevant option, follow the instructions on the screen to authenticate. To save the browser for future logins, tick the Save this browser? checkbox on the screen before selecting to Verify your login.
Once set up and the browser saved, you can manage the connected browsers at the bottom of your profile page.

Authenticated devices expire every month so the authentication process needs to be repeated once per month.
Single Sign-on (SAML)
Introduction
This guide outlines the steps to set up SAML authentication for AIR dashboard users.
Who should use SAML?
SAML can be used to authenticate users for a unit in AIR that requires seamless access to the Dashboard from within their existing systems or internal Intranet.
SAML Support
AIR Dashboard acts as a Service Provider (SP). It will accept user authentication from any SAML 2.0 compatible Identity Provider (IDP).
The details of the expected IDP must be set up in the unit settings. Once setup, Dashboard will trust that IDP, and allow it to authenticate users associated with that unit only. No other IDP can authenticate users against this unit and Dashboard does not support multiple IDPs for a single unit.
Eagle Eye does not currently support the implementation of the IDP on the client side, this is the responsibility of the client to implement using any off-the-shelf or custom implementation that works with their systems.
User Management Config
It's possible to configure the SSO integration to automatically create & manage users, and sync attributes with updates logged. This can be done by enabling the following settings:
- User Creation: When enabled, this will allow the automatic creation of a user which is passed via the single sign-on mechanism if they do not yet exist in AIR Dashboard.
- Manage Users: When enabled, this will force the single sign-on mechanism to manage the user details and keep the following user profile attributes synced (if they are mapped). Users created via SSO in Dashboard will no longer be editable in Dashboard if Manage Users is enabled.
- Unique ID
- Role
- First Name
- Surname
- Redemption Partner (only configurable via API by passing a unitId value (1 or multiple) for attribute allowed.campaign.redemptionPartner )
Setup Instructions
In order to set up SAML please contact your Account Manager and provide the following required details:
Required
- Metadata URL
- Single Sign On URL
- Single Logout URL
- IDP X.509 Certification (2048-Bit)
- Unique Id Attribute
- Email Attribute
Required For User Creation
- Role Attribute
- Firstname Attribute
- Lastname Attribute
Our teams will then be able to configure your unit and assist you with completing the SAML user setup.
Further InformationIf you have any questions then please contact your Account Manager or the Customer Care team at [email protected].